How to whitelist a withdrawal address on Binance
The withdrawal address whitelist is another security feature offered by Binance. When the whitelist feature is turned off, your account is able to make withdrawals to any address. When turned on, you will be able to make withdrawals only to the addresses that are whitelisted.
In other words, the addresses that you whitelist will be the only ones able to receive funds from your Binance account. This is very useful because if you ever become a victim of phishing and a hacker manages to invade your account, they won’t be able to withdraw your money.
How to activate it
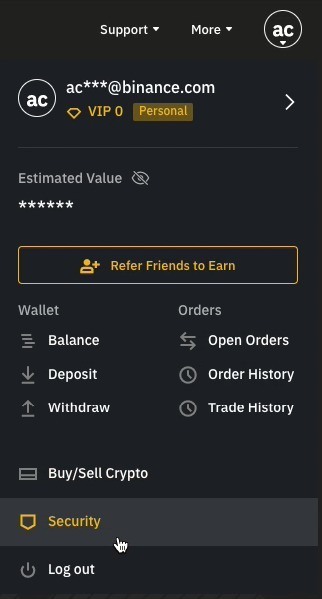
From the homepage of Binance, move your mouse up to your profile icon. Note that the icon will be different for each account as it is based on the first two letters of your email address. Once you activate the dropdown menu, you will see an overview of your profile. Click on “Security,” and you will be directed to the security page.
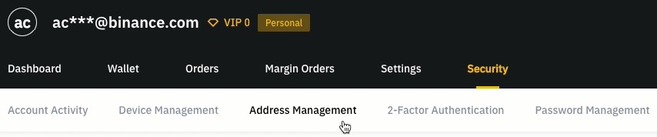
Then click on the “Address Management” tab.
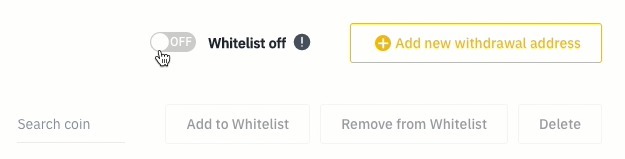
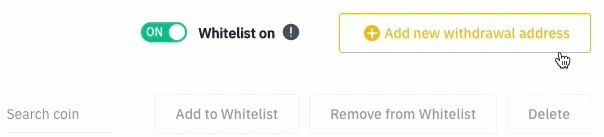
The whitelist toggle will be displayed on the right side of your screen.
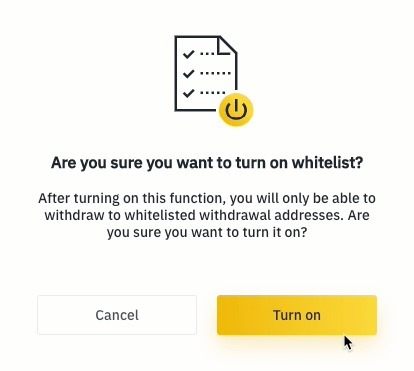
Turn it on, and you will see a confirmation window like this:
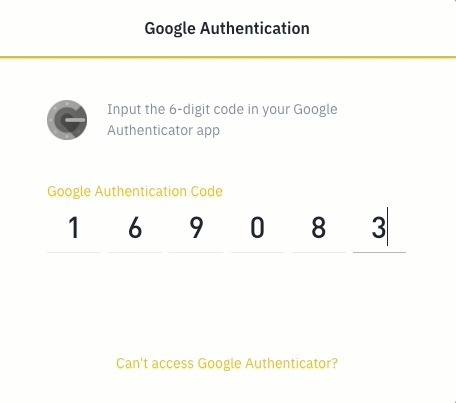
Next, you will be required to provide your 2FA authentication. In this case, we are using the Google Authentication app.
After turning the whitelist feature on, click on “Add new withdrawal address.”
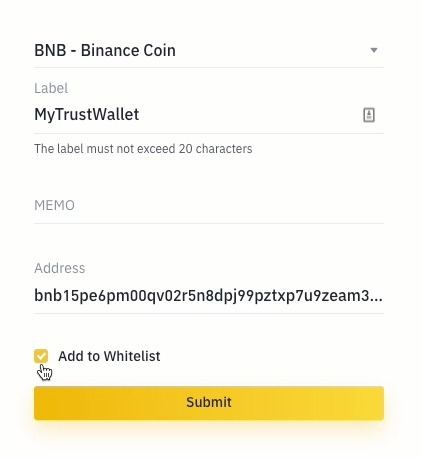
Next, select the coin of your withdrawal address and give it a name (label). In this example, we will add a BNB address generated by the TrustWallet app, so we will label this address “MyTrustWallet.”
Depending on the cryptocurrency you have selected, there may be a specific process to withdraw that coin. In the case of BNB, a MEMO may be required. If you are sending BNB to another account on Binance Exchange, you must include the MEMO. Otherwise, you will lose your funds. Make sure to check whether the address you are sending BNB requires a MEMO.
For TrustWallet addresses, you don’t need to insert a MEMO. If you are sure that you don’t need a MEMO, leave it blank. Next, add the address, check the “Add to Whitelist” box, and click “Submit.”
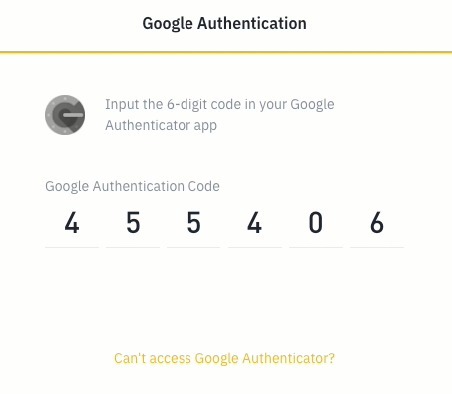
You will be required to provide your 2FA authentication once again.
A confirmation email will be sent to you. Follow the instructions in the email to confirm your request.
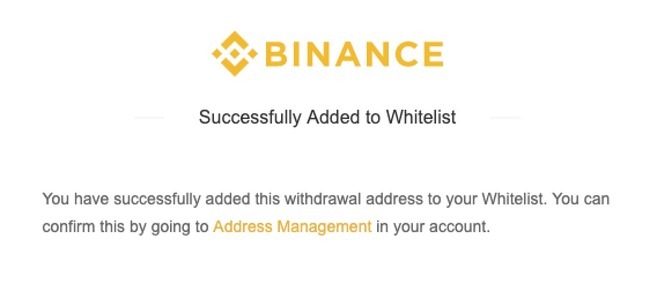
Check if everything is correct. If so, click confirm to finish the process and will you see the following message:
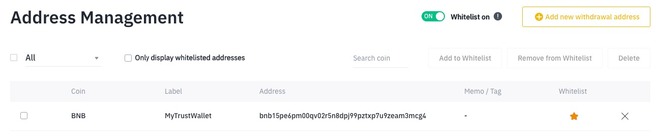
Now that your withdrawal address was whitelisted, you may go to your Binance account and check the Address Management page. On this page, you can see and manage all your withdrawal addresses, including the whitelisted ones.
You should always have your withdrawal whitelist feature turned on, so you have an extra layer of security over your funds.